Step 1: Setting Up Your Account
- Your journey begins with a simple, streamlined account setup. To get started:
- Visit the Levels Checkout Page: Head over to the Levels website and click on “Buy Levels.”
- Select Your Account Type:
- Free Demo – Ideal for beginners testing the waters
- Gold, Platinum, or Diamond – Suited for traders ready to invest more seriously
- Enter Your Details: Provide your personal information and click “Proceed to Payment.”
- Complete Payment and Log In: Once your payment is processed, log into your new Levels account and you’re all set.
This process is designed to be intuitive, ensuring that you can focus on learning trading strategies rather than getting bogged down in technicalities.
Step 2: Navigating the Platform
After logging in, take some time to familiarize yourself with the platform’s interface. The main dashboard is user-friendly and easy to navigate. Key actions include:
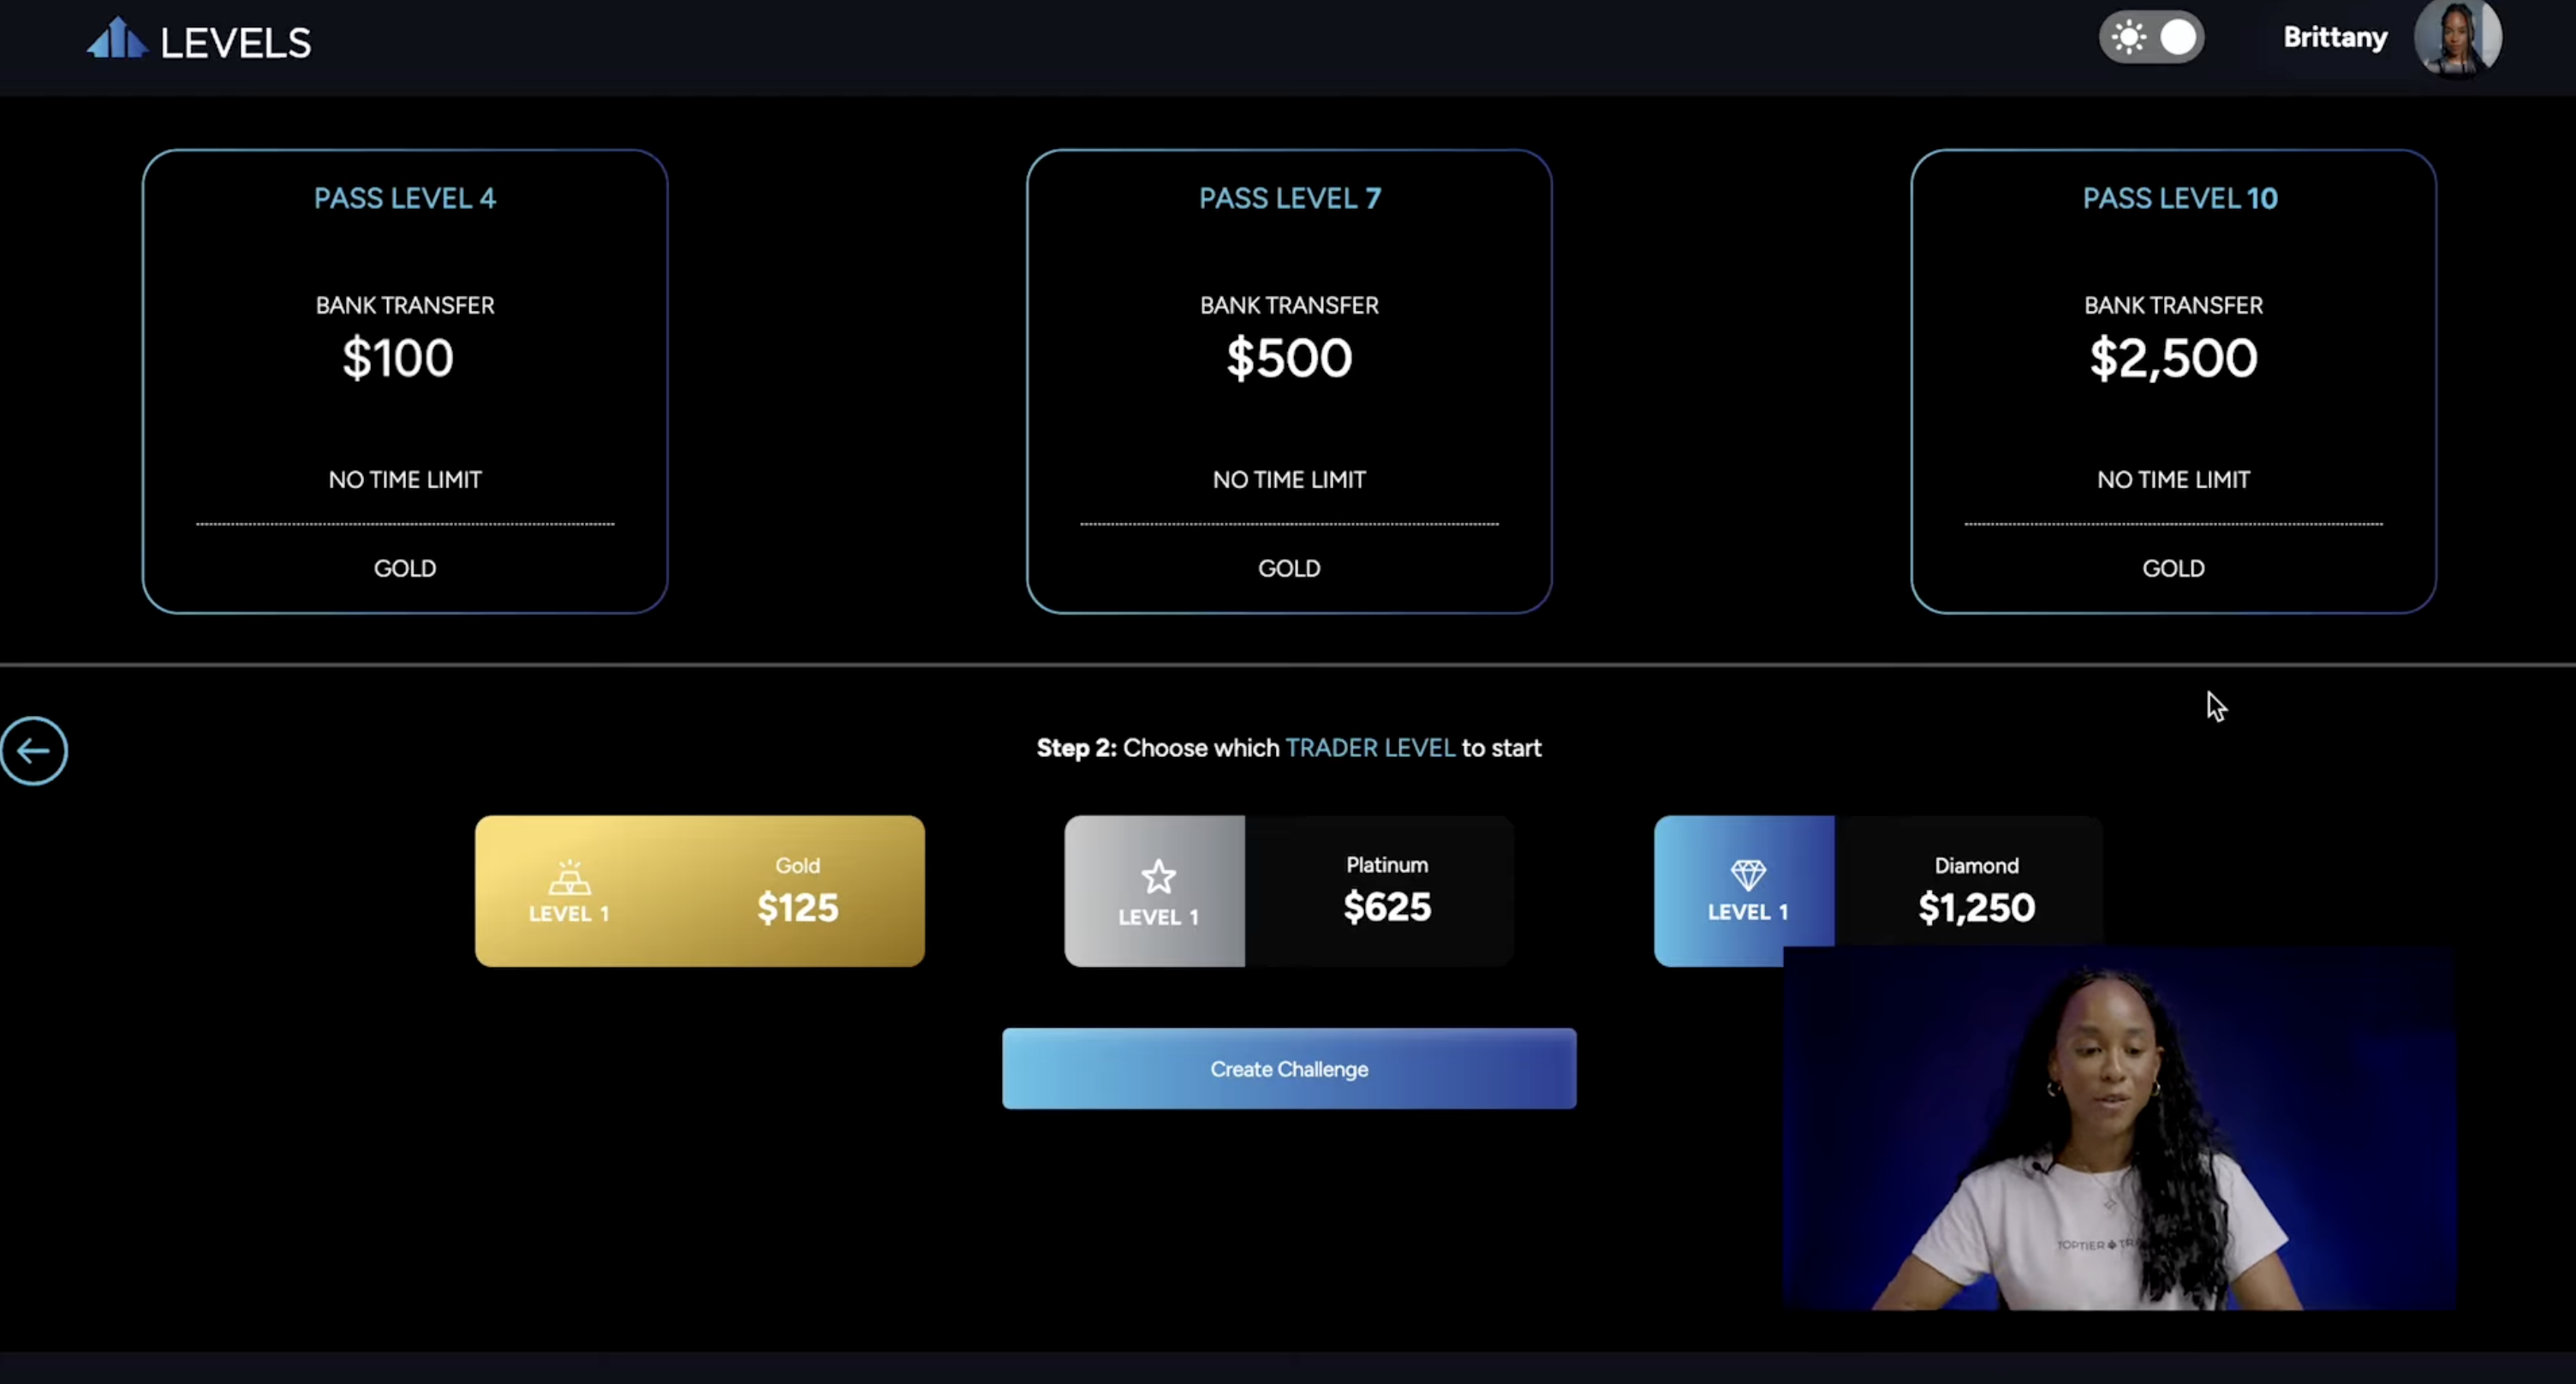
- Access the “Levels” Tab: This is your gateway to the trading environment.
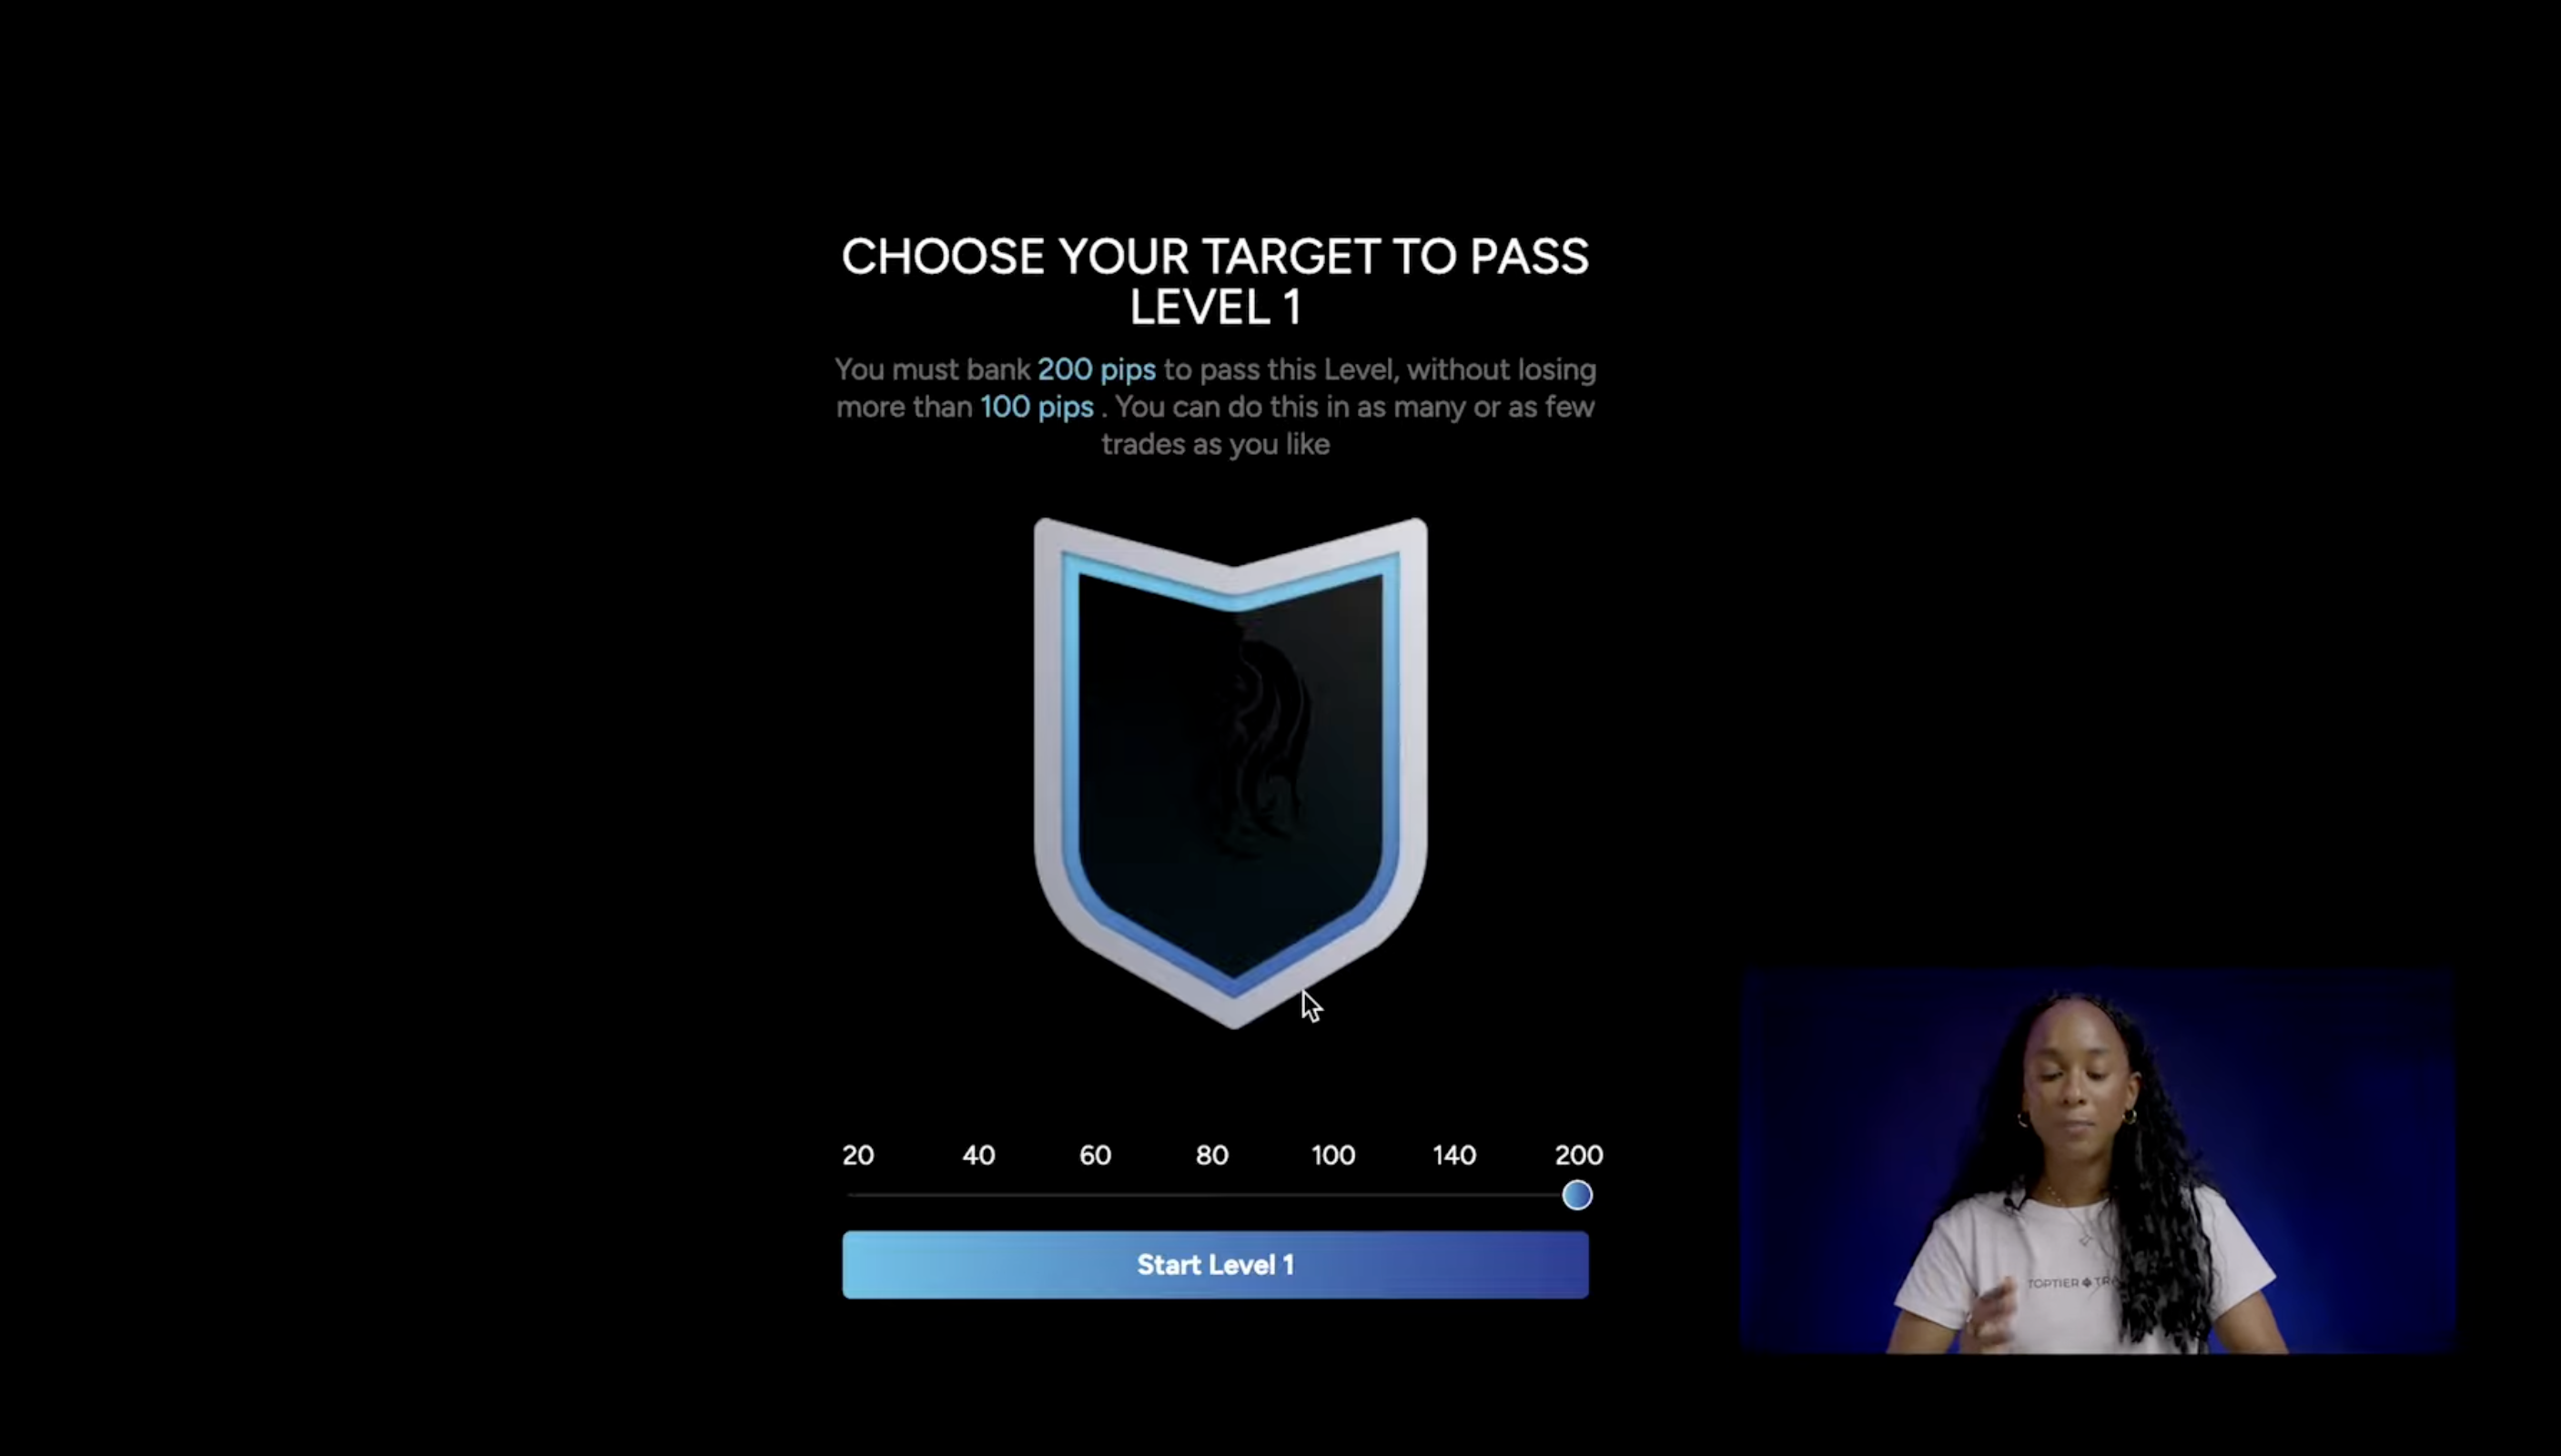
- View and Start Challenges: Click on “View” to see your current trading challenge, then select “Start Now” to begin Level 1.
- Set Your Target Pips: For beginners, a target of around 20 pips is recommended. The platform gives you half of your target upfront, easing you into the experience.
This section of the platform is designed to help you focus on execution and learning the ropes of pip-based trading with minimal distractions.
Step 3: Customizing Your Trading Environment
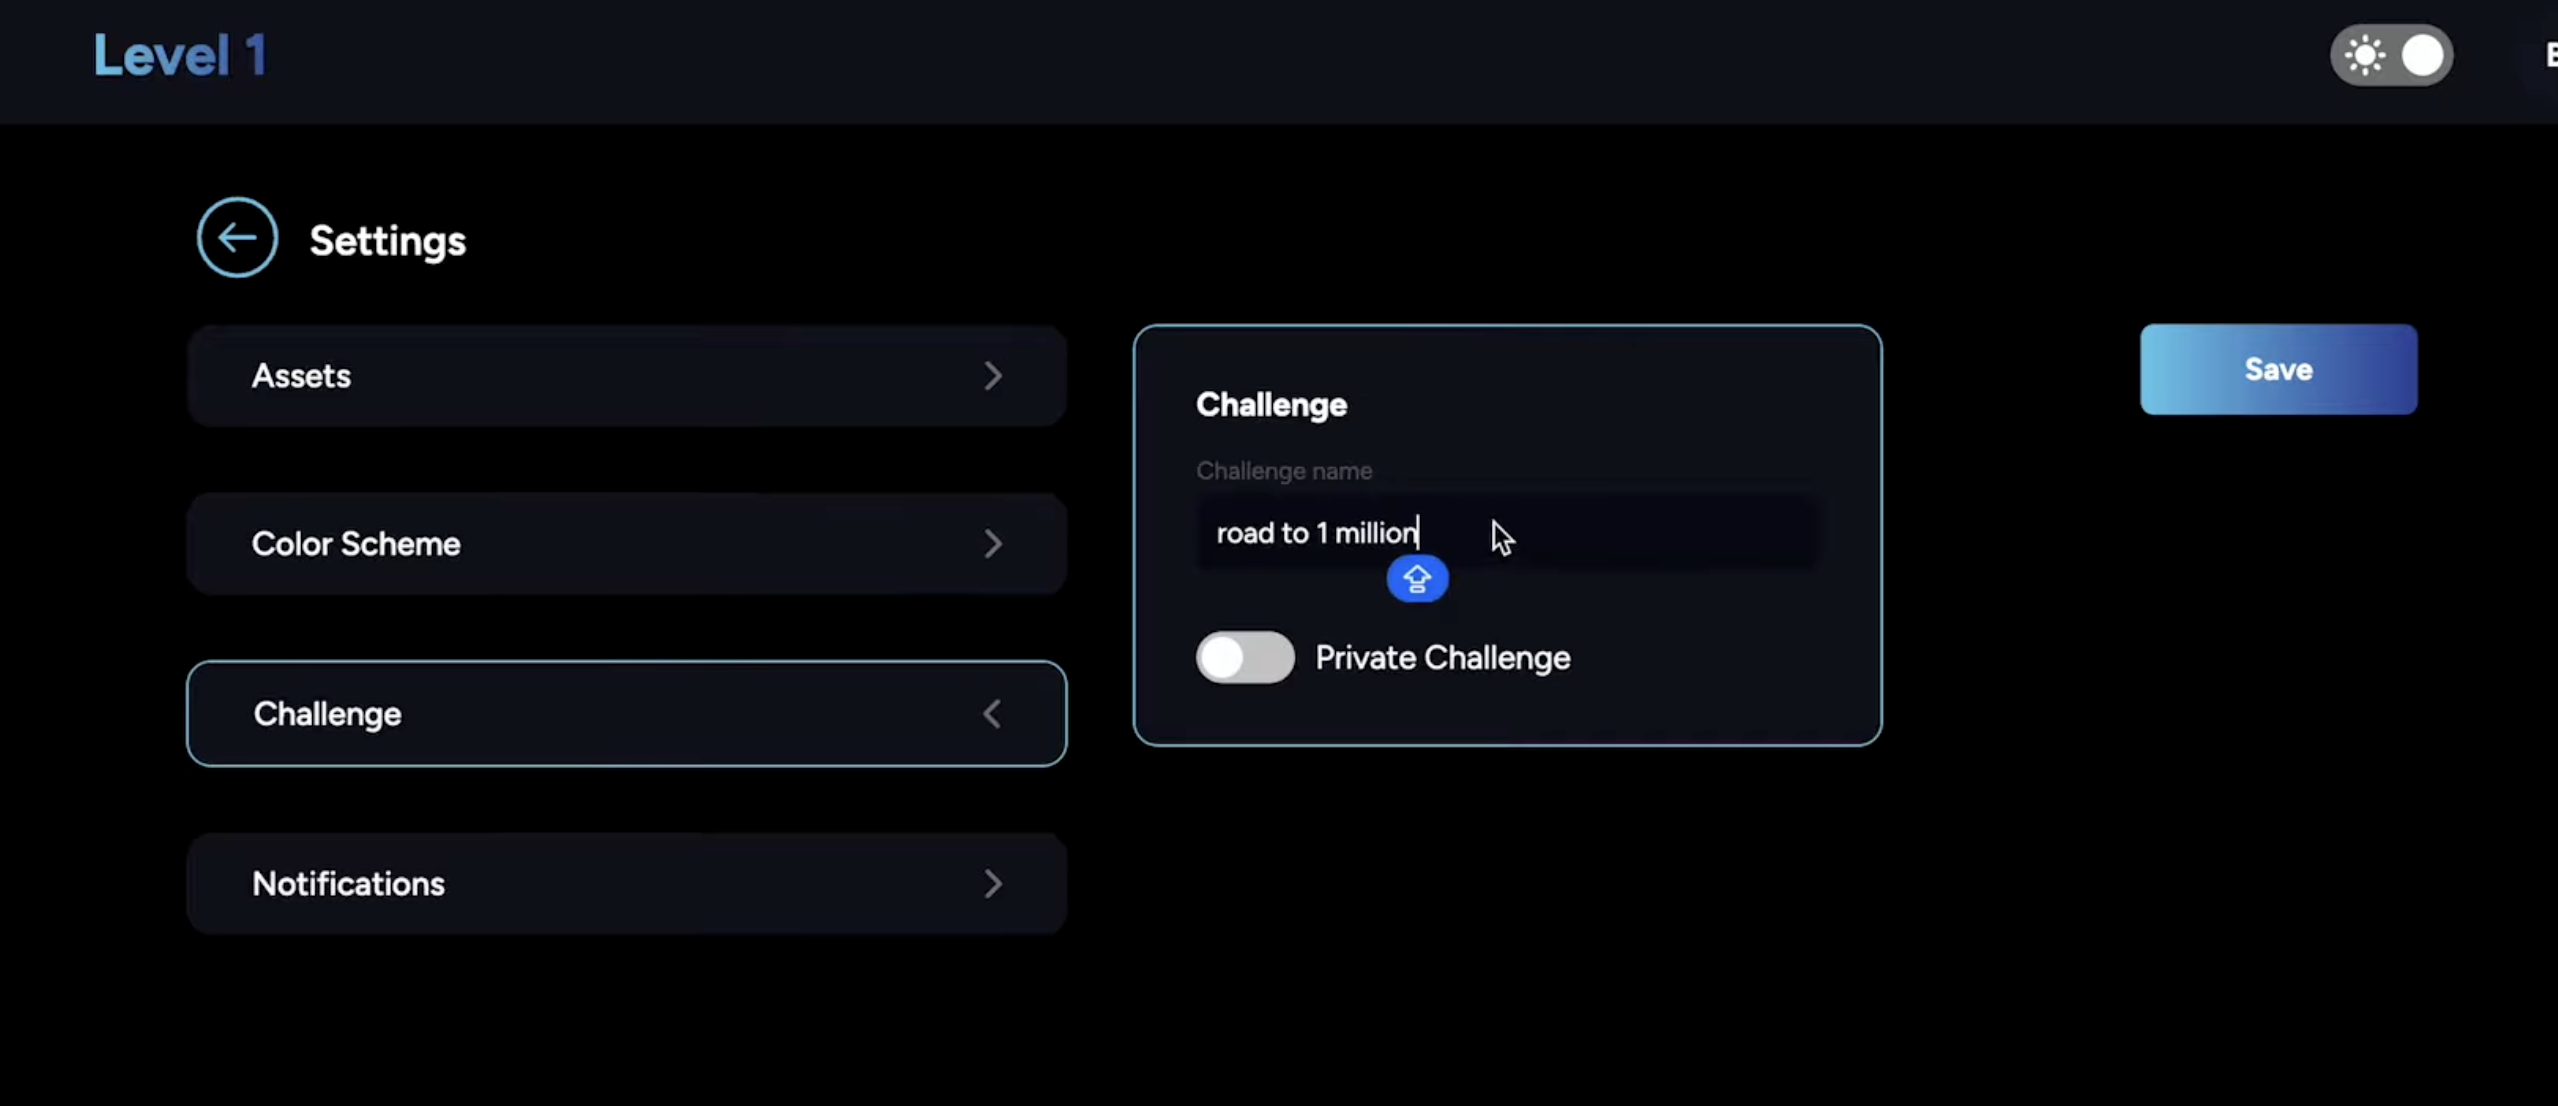
Tailor your trading experience by accessing the settings via the gear icon. Here’s what you can adjust:
- Asset Selection: Choose the trading assets you prefer.
- Visual Settings: Customize your chart color scheme.
- Notifications: Set up alerts to stay on top of market movements.
This level of customization ensures that you have a comfortable and efficient workspace to make informed decisions.
Step 4: Executing Your First Trade
Once you’re comfortable with the platform’s layout, it’s time to place your first trade. The process is straightforward:
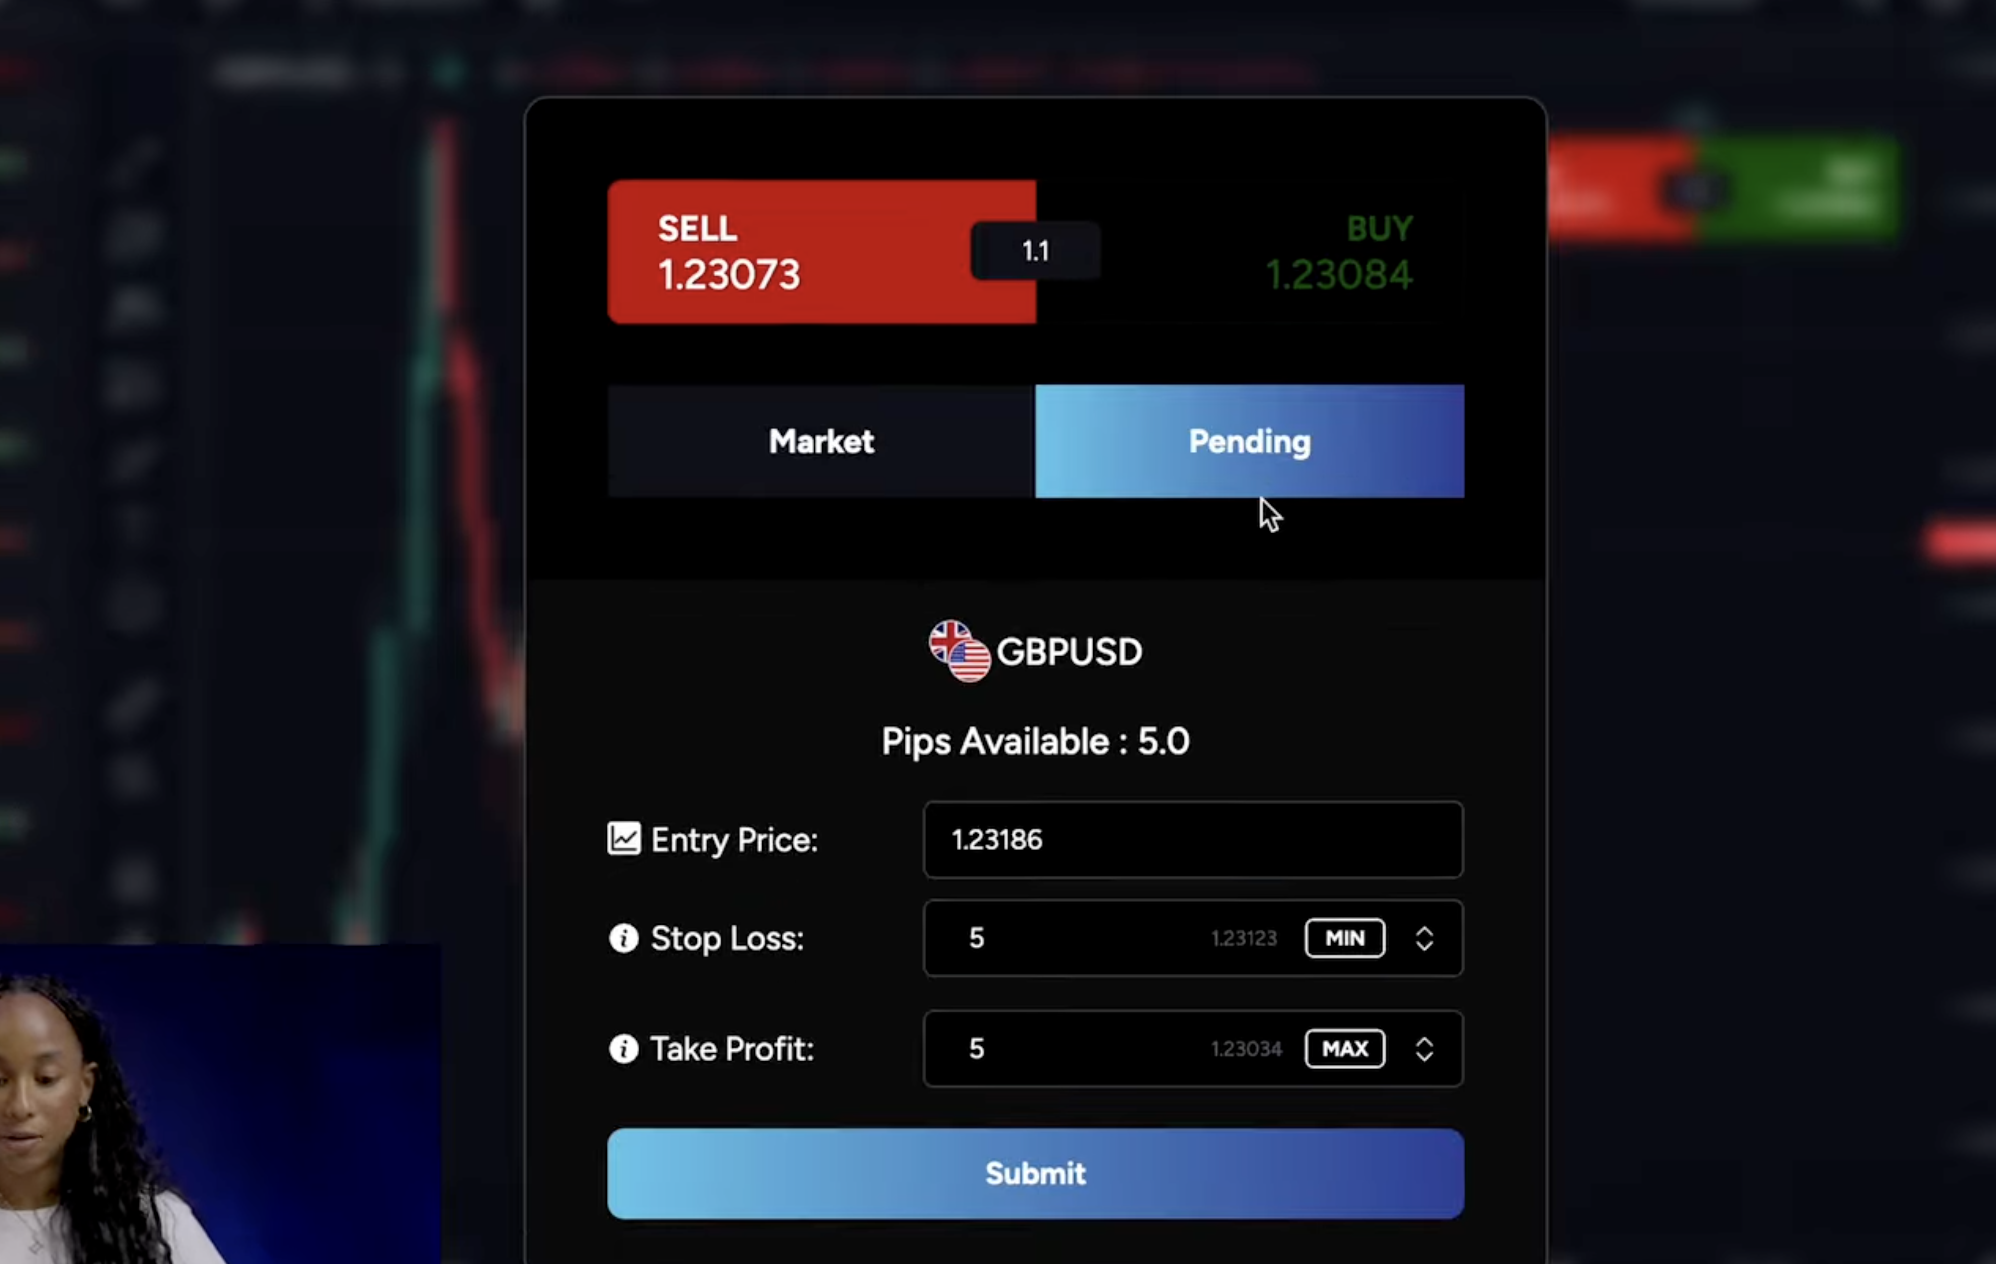
- Select a Currency Pair: Choose the pair that you are most familiar with.
- Decide on Order Type::
- Market Order: For immediate execution
- Pending Order: For a planned future entry
- Set Trade Parameters: Define your entry price (if needed), stop loss, and take profit levels.
Submit and Monitor: Click “Submit” to execute your trade, then monitor your position in real time.
Step 5: Monitoring Metrics and Managing Trades
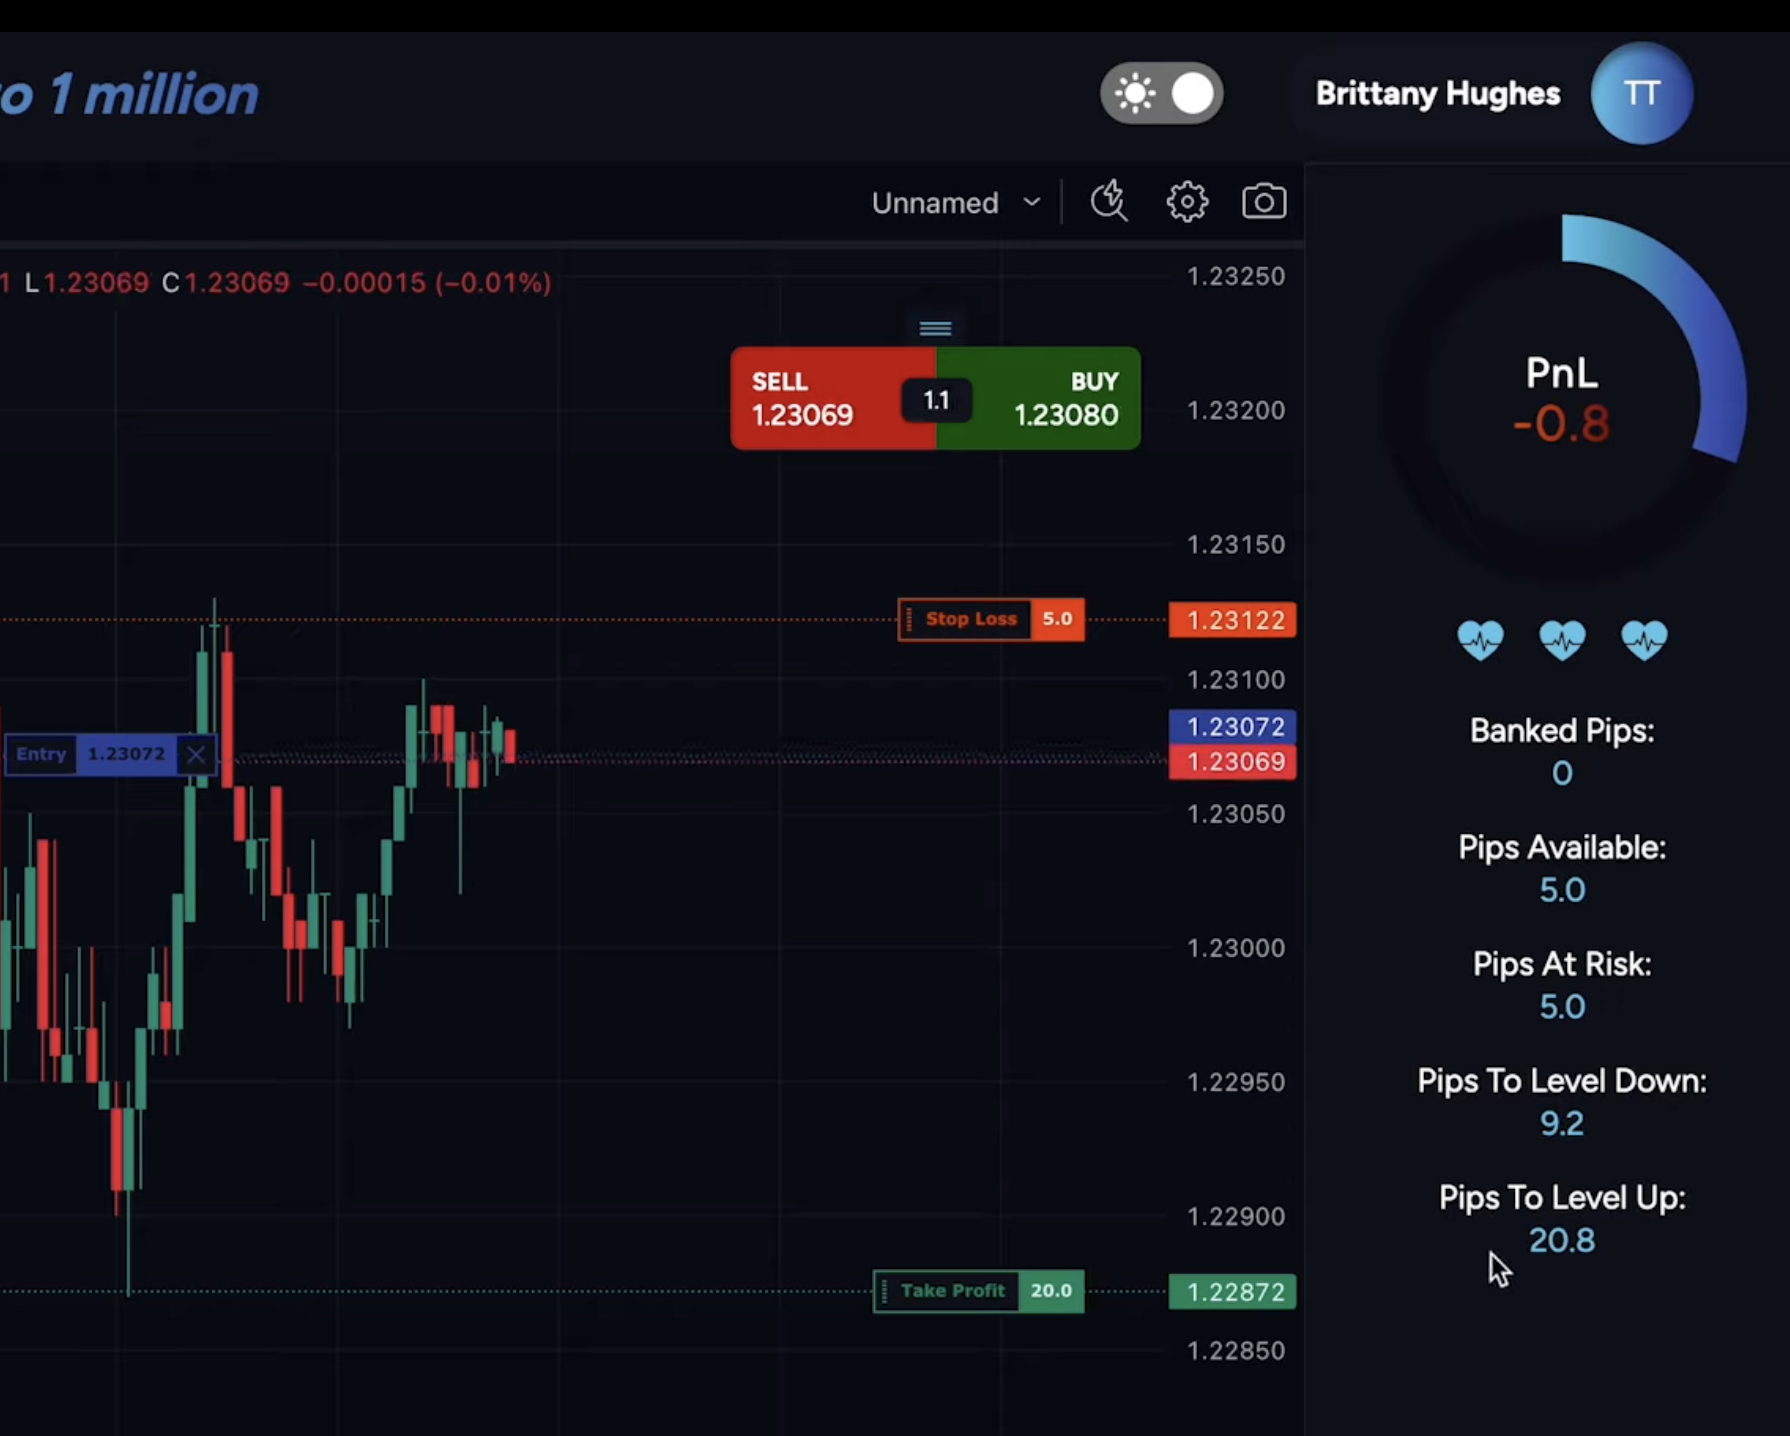
Success in trading depends on understanding and managing your metrics. The Levels platform offers clear indicators to help you stay on track:
- Banked Pips: Total profits accumulated from successful trades.
- Available Pips: The margin before you risk a level down.
- Pips at Risk: Your current exposure in ongoing trades.
Regularly reviewing these metrics allows you to assess your performance, identify patterns, and adjust your strategy accordingly. Additionally, make it a habit to review your trade history. This reflection helps in refining your approach, ensuring you learn from both your successes and setbacks.
Trade Management & Level Progression
Effective trade management is the cornerstone of long-term success. Regularly review your trade history and monitor active positions to identify trends and adjust your strategy
Advancing through levels requires consistent performance, bank your target pips without reaching the level-down threshold, and gradually increase your pip targets as you build confidence.
Conclusion
Mastering pip-based trading on the Levels platform is a step-by-step journey. By setting up your account properly, familiarizing yourself with the interface, customizing your trading environment, and managing your trades effectively, you set the stage for steady progress.
Remember, every master trader started as a beginner. Keep your focus on consistency, risk management, and continuous learning, and you’ll be well on your way to trading success.
Good luck on your Levels journey, and enjoy the process of growing your skills one pip at a time!
